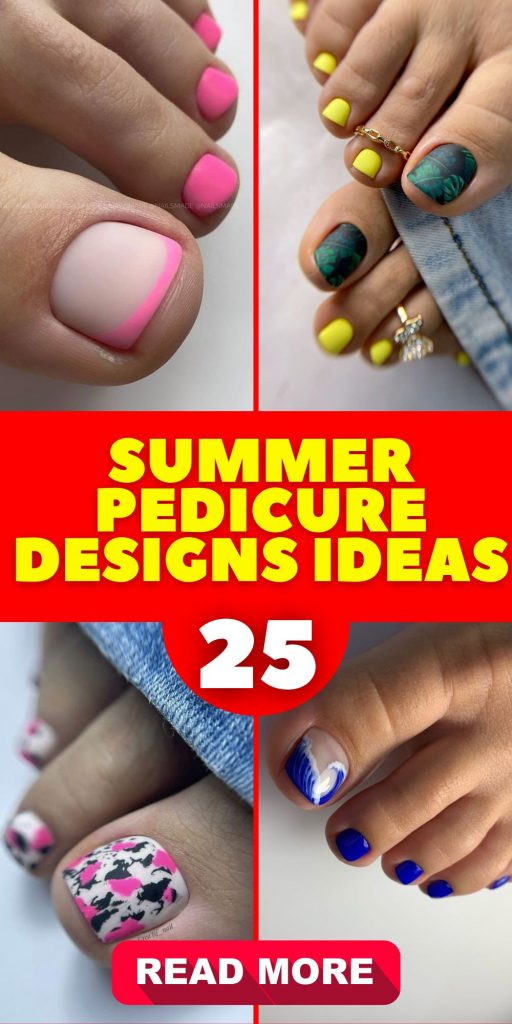
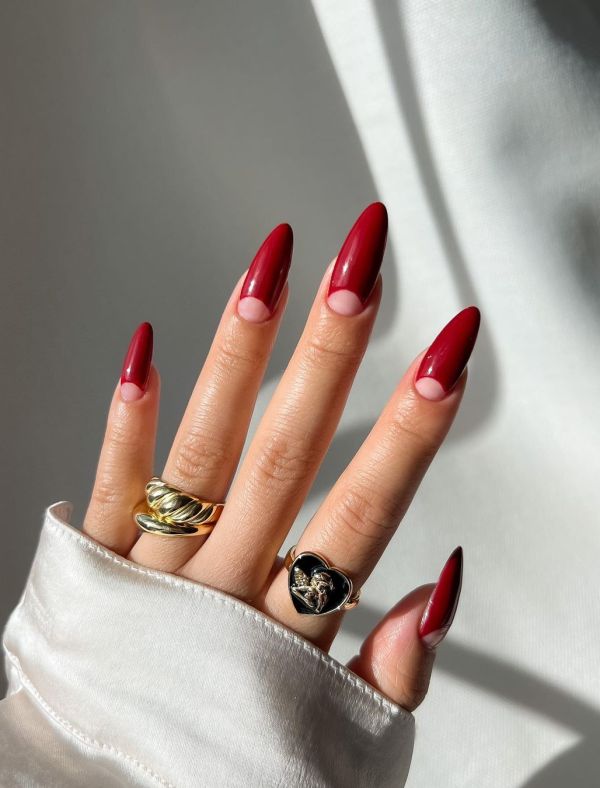
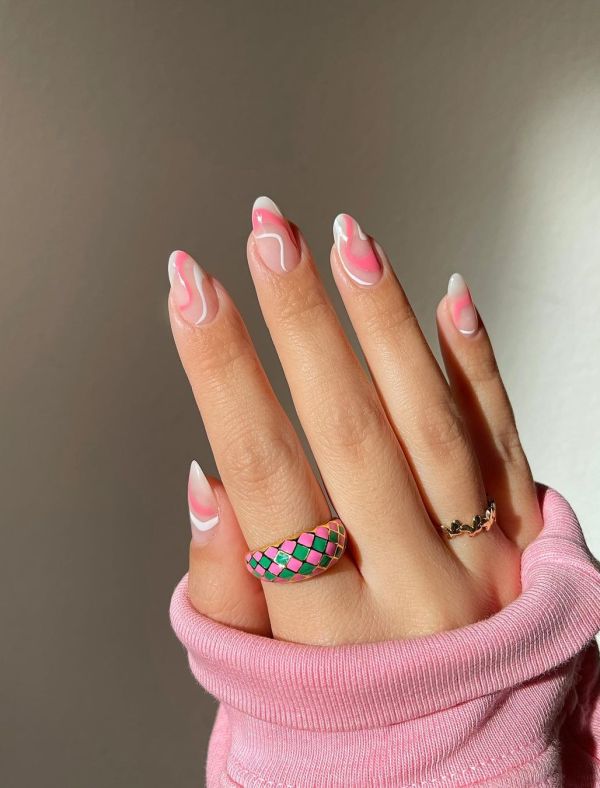
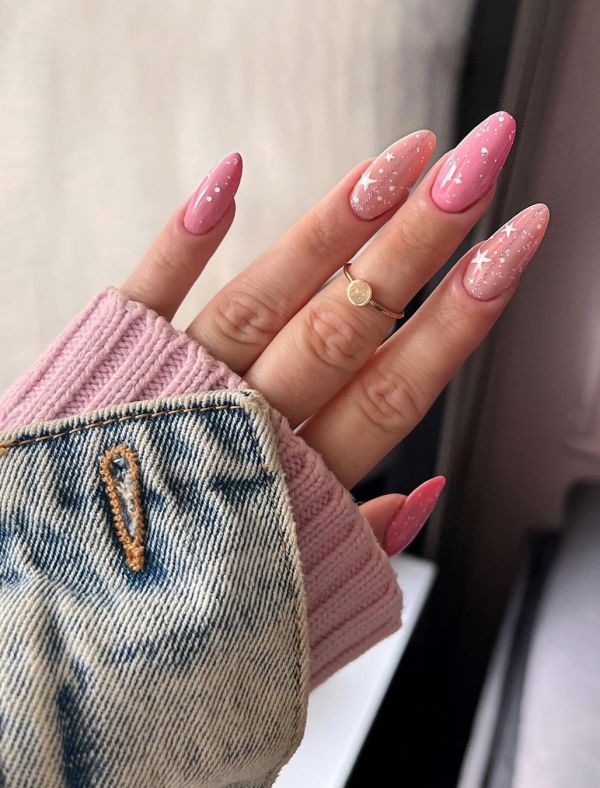
As the sun takes its throne back in the sky, do our toenails get the spotlight they deserve? Can simple yet striking summer pedicure designs be a reflection of our summertime zest? This season, it’s all about the toes – whether they’re sinking into golden sands or peeking out of open-toed sandals, let’s dive into how you can give your feet the vibrant makeover they yearn for in 2024.
The Timeless Appeal of Simple Elegance
In the dazzling dance of summer pedicure designs, simplicity often leads the waltz. The pristine white polish seen captures a minimalist charm that is both timeless and trendy.
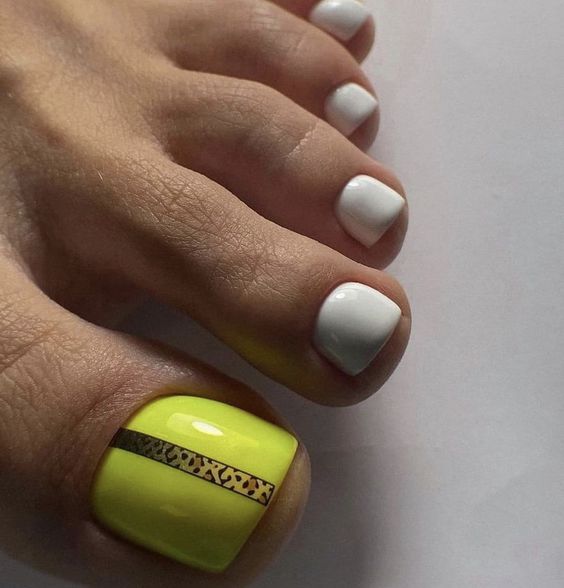
Professional Insight: The elegance of a white pedicure lies in its versatility. The clean, white polish serves as a canvas, making the toenails a focal point without overwhelming. It’s fresh, it’s crisp, and it embodies the summer’s clarity.
- Consumables Needed:
- High-quality white gel polish (e.g., OPI Alpine Snow)
- UV or LED curing lamp
- Top coat for a glossy finish (e.g., Seche Vite Dry Fast Top Coat)
I find that a glossy top coat not only seals the deal but also adds that extra layer of protection against the summer elements. The choice of a white gel polish like OPI’s Alpine Snow can complement any skin tone, adding a touch of simple sophistication to your look.
- DIY Steps:
- Start with a clean, prepped nail.
- Apply a thin layer of your chosen white gel polish and cure under a lamp for the recommended time.
- Seal with a top coat and cure again for durability and shine.
A Blossom of Elegance: Blue Serenity and Floral Grace
Amid the summer’s heat, toenails become the unexpected canvas for a mesmerizing story—a story where flowers bloom in hues of serene blue and the whisper of petals creates.
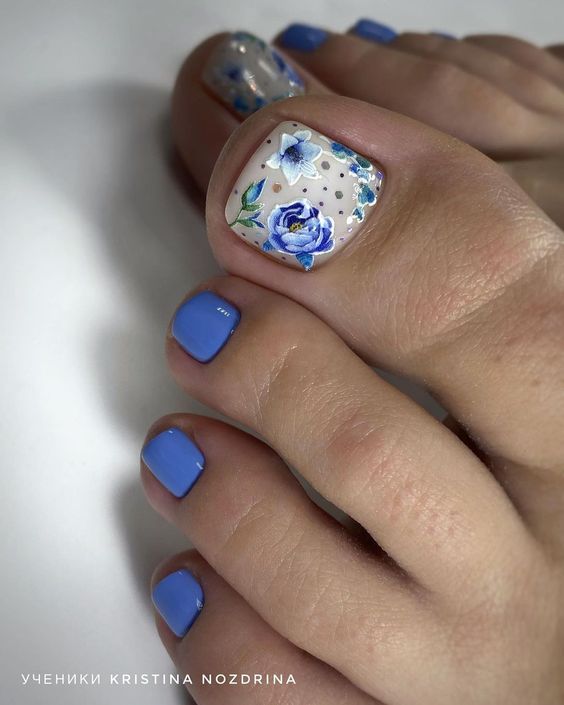
Professional Insight: This delicate display features blue as its hero, balanced with the soft touch of painted florals. It’s not just a pedicure; it’s a declaration of grace. Perfect for a summer’s evening or a casual walk on the beach, these toenails are a wearable piece of art.
- Consumables Needed:
- Pastel blue nail polish (e.g., Essie Bikini So Teeny)
- Fine detail brush for flowers
- Acrylic paints for the floral art
- Clear top coat for a lasting finish (e.g., INM Out The Door)
The joy of this design is in the details—the fine strokes that form each petal. Using acrylic paints gives you the precision needed for these miniature masterpieces.
- DIY Steps:
- Apply a base coat and two layers of your pastel blue polish, letting each coat dry.
- Dip your detail brush in acrylic paint and sketch the flower design onto the big toenail.
- Finish with a clear top coat to seal in your miniature artwork.
Gilded Simplicity: A Touch of Glamour
The sun’s golden kiss immortalized on your toes; brings the simplicity of yellow polish and the opulence of gold leaf together in an alchemy of summer pedicure designs.
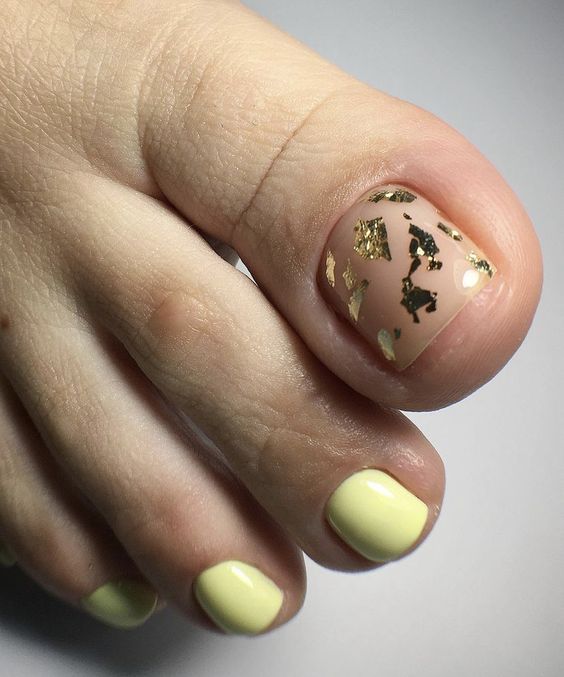
Professional Insight: This pedicure balances the easy, laid-back vibe of summer with a dash of bling. The gold leaf accent creates a focal point, making it a versatile choice that pairs as well with flip-flops as it does with stilettos.
- Consumables Needed:
- Light yellow nail polish (e.g., China Glaze Lemon Fizz)
- Gold leaf sheets
- Adhesive for gold leaf (optional, depending on application method)
- High-gloss gel top coat for a gleaming finish
Incorporating gold leaf is a daring move that pays off by turning simple into fancy. It’s about adding that hint of luxury without going overboard.
- DIY Steps:
- Paint your nails with the chosen yellow shade and wait for it to dry.
- Apply gold leaf on the accent nail, using either the adhesive or the tackiness of the second coat of polish.
- Seal everything with a gel top coat for a glossy and protective finish.
Emerald Dreams: The Lushness of Summer
A nod to the verdant landscapes of the season, showcases the depth and drama of green polish—a true reflection of summer pedicure designs that speak to nature’s palette.
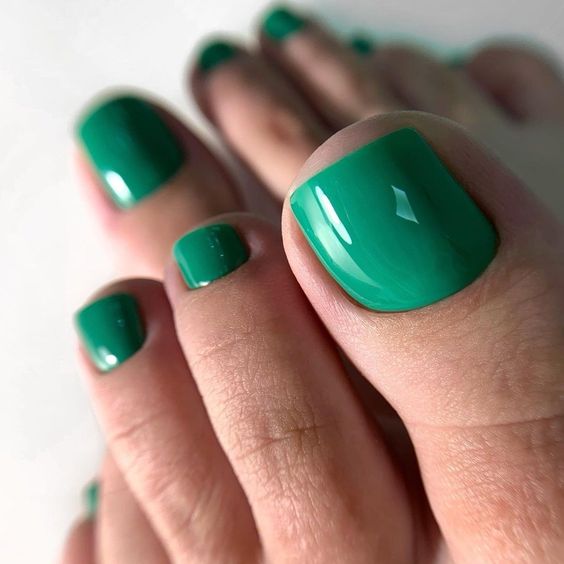
Professional Insight: The luxurious green in this design takes one back to the heart of summer—lush, vibrant, and full of life. It’s a bold choice, unafraid to stand out and command attention, embodying the fearless spirit of the season.
- Consumables Needed:
- Deep green nail polish (e.g., OPI Amazon…Amazoff)
- Strengthening base coat
- Quick-dry top coat for a swift finish (e.g., Sally Hansen Insta-Dri)
Opting for a strong, deep green can transform the feet into a statement piece, perfect for those who embrace the essence of summer.
- DIY Steps:
- Begin with a base coat to protect your toenails.
- Lay down two coats of the green polish, allowing it to dry between layers.
- Finish with a quick-dry top coat to keep everything in place as you continue your summer adventures.
Cobalt Cool: A Dive into Deep Blue
Captures the essence of the ocean’s depths with a bold blue polish that’s as limitless as the summer sky itself—a testament to the daring side of summer pedicure designs.
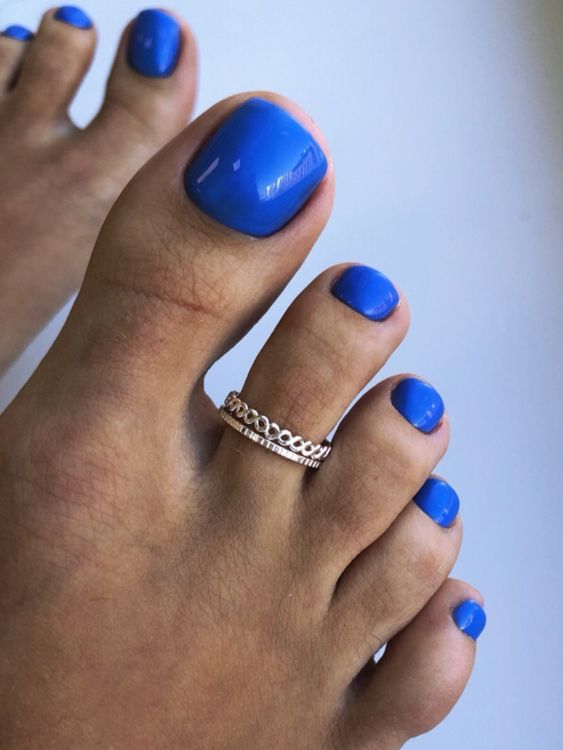
Professional Insight: This is about making a splash with confidence. The electric blue on these toenails is a vibrant choice for the individual who carries the coolness of the ocean wherever they go. It’s for the bold, the adventurous, the ones who leave a ripple of awe in their wake.
- Consumables Needed:
- Electric cobalt blue nail polish (e.g., Essie Butler Please)
- Durable base coat
- Top coat with UV protection (e.g., CND Vinylux Weekly Top Coat) to prevent color fading in the sun.
Blue is a statement in itself; an audacious color that can carry the whole look. When choosing a hue like cobalt, you’re opting for a pedicure that’s as deep and captivating as a summer’s midnight sky.
- DIY Steps:
- Protect your nails with a base coat to ensure your blue polish pops.
- Apply two coats of the cobalt blue polish, letting them dry thoroughly.
- Cap it off with a UV protective top coat to maintain the vibrancy of the blue, come sea or pool.
The Contrast of Monochrome Magic
We discover a bold interplay between the timeless duo of black and white. This daring zebra design is nothing short of a graphic marvel for those who appreciate a chic and edgy take on summer pedicure designs.
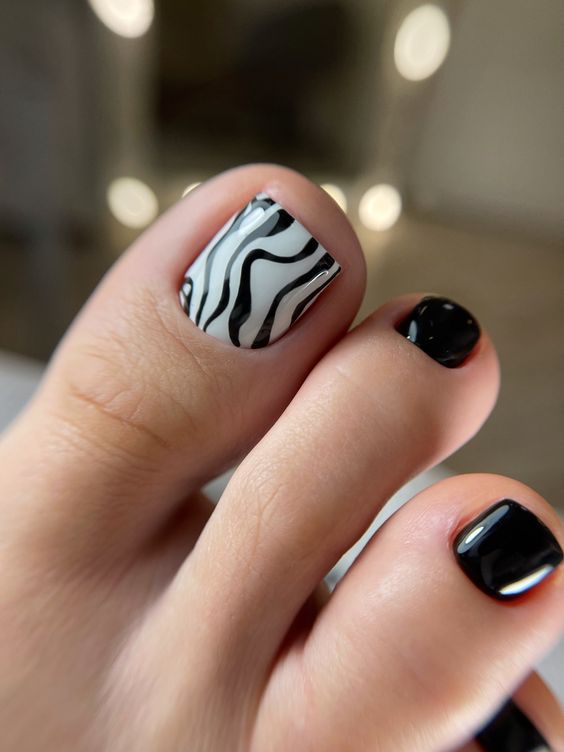
Professional Insight: The stark contrast not only commands attention but also pairs wonderfully with any color in your summer wardrobe. This pedicure suggests confidence and a certain boldness, perfect for those summer nights out.
- Consumables Needed:
- Jet black gel polish (e.g., Gelish Black Shadow)
- Pure white gel polish (e.g., Gelish Arctic Freeze)
- Detailing nail art brush
- Matte top coat for a contemporary finish (e.g., OPI Matte Top Coat)
The beauty of this design lies in the precise strokes, capturing the wild essence of the zebra print with elegance and easy flair.
- DIY Steps:
- Apply a base coat and then two coats of white gel polish as the background, curing between layers.
- Use the detailing brush to hand-paint the black zebra stripes—embrace the imperfections as they add to the authenticity.
- Finish with a matte top coat for a modern twist, cure, and you’re set to go.
Whispering Tides: A Sea-inspired Fantasy
Whisks us away to the soothing tides with its seafoam green and delicate patterns, conjuring images of gentle waves and sandy shores—an ideal narrative for toenails beach nails.
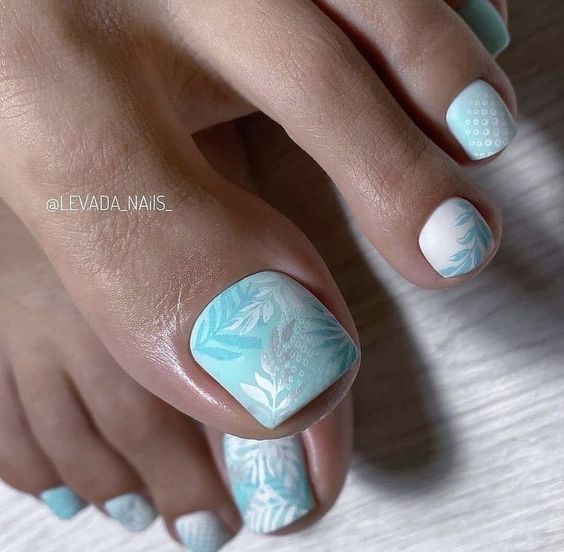
Professional Insight: This pedicure is a poetic ode to the sea. The use of teal and white suggests the frothy lace of sea waves caressing the sand, while the stamped patterns speak of marine flora.
- Consumables Needed:
- Seafoam teal gel polish (e.g., CND Shellac Aqua-intance)
- Stamping plate with marine patterns
- White stamping polish
- High-shine gel top coat to seal the design
The tranquility of this design is its strength, offering a peaceful yet fancy statement for the observer’s eye.
- DIY Steps:
- Apply your seafoam teal polish as the base color and cure.
- Use the stamping plate and white polish to transfer the marine patterns onto the nail.
- Seal with a top coat for longevity and a beautiful, glossy sheen.
Pastel Dreams and Butterfly Wings
The delicate dance of butterflies against a canvas of soft pastels in ‘8.jpg’ is a dreamy addition to toenails art ideas, reminiscent of a serene summer meadow.
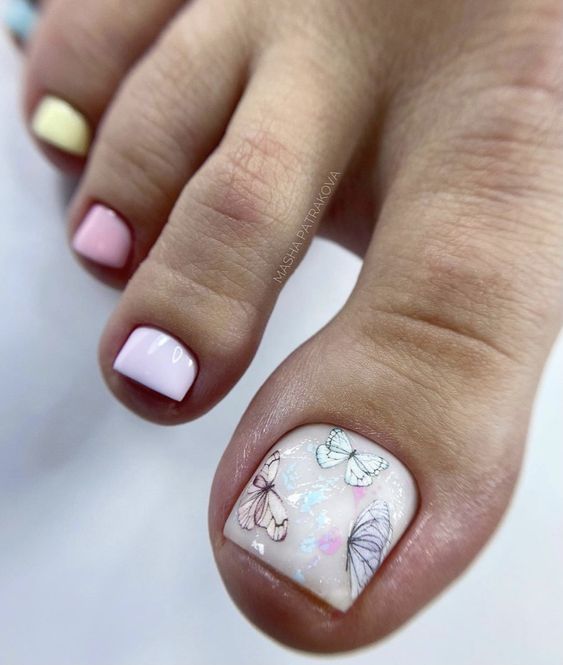
Professional Insight: This design brings a whimsical touch to your toes, with pastel hues of pink, yellow, and white creating a harmonious blend. The butterfly accents add a touch of enchanting cuteness, perfect for those leisurely park strolls.
- Consumables Needed:
- Pastel pink and yellow nail polish (e.g., Essie Romper Room and OPI Exotic Birds Do Not Tweet)
- Butterfly nail decals
- Iridescent glitter top coat for a magical sparkle
Subtlety is the heart of this design, as it captures the ethereal beauty of butterflies with a soft and easy charm.
- DIY Steps:
- Paint each toenail in alternating pastel pink and yellow.
- Apply the butterfly decals to the big toenails.
- Complete the look with an iridescent glitter top coat for a hint of sparkle.
Pretty in Pink
As a professional manicurist, I must say, the quintessential pink captures the essence of toenails summer vibes. The uniformity of the candy floss hue, a delightful bright color, doesn’t just scream cute; it’s a full-on concert. With each nail meticulously coated, the simplicity speaks volumes, offering a simple yet polished look that’s always in vogue.
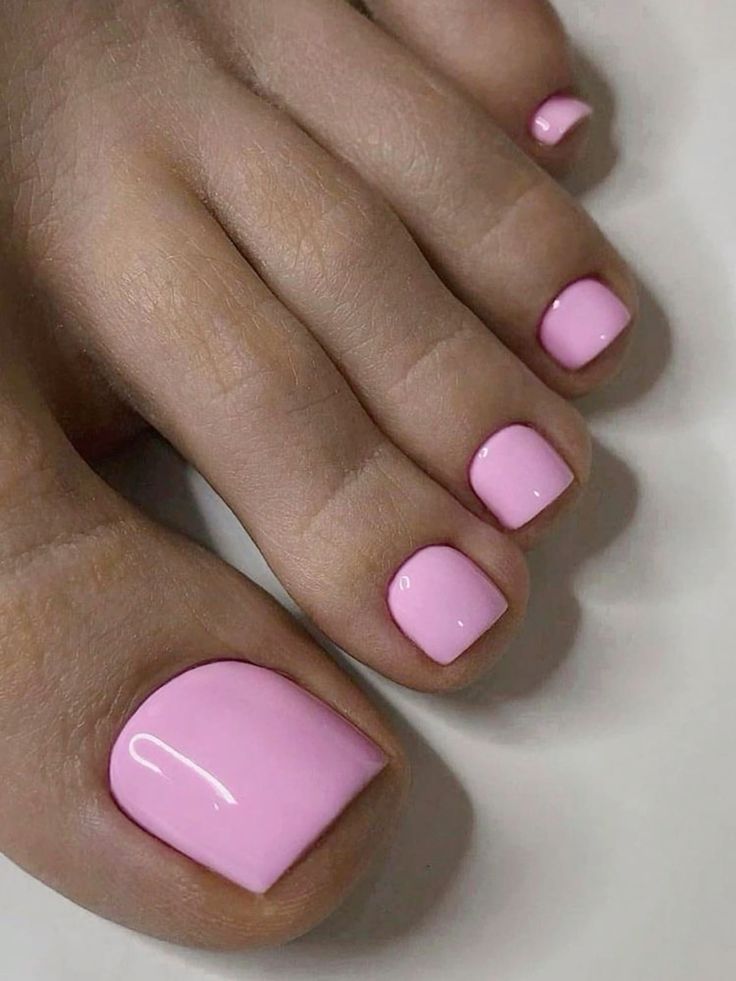
Consumables Needed
- Base coat: Opt for a sticky adhesive base to ensure longevity.
- Pink polish: Choose a gel formula like OPI’s Bubble Bath for a glossy, durable finish.
- Top coat: A high-gloss gel top coat will seal in color and add that candy-like shine.
DIY Instructions
- Begin with a clean, buffed nail. Apply your base coat and cure under a UV light if you’re using gel.
- Apply two coats of your chosen pink polish, curing after each coat.
- Finish with a high-gloss top coat for a durable, shiny finish and cure it. Remember, the key is thin, even layers!
Tropical Palm Paradise
In the realm of summer pedicure designs, nothing says tropical getaway quite like a palm leaf stencil gracing your toes. The green and white pattern on a backdrop of deep teal is a testament to this summer’s affinity for nature-inspired motifs.
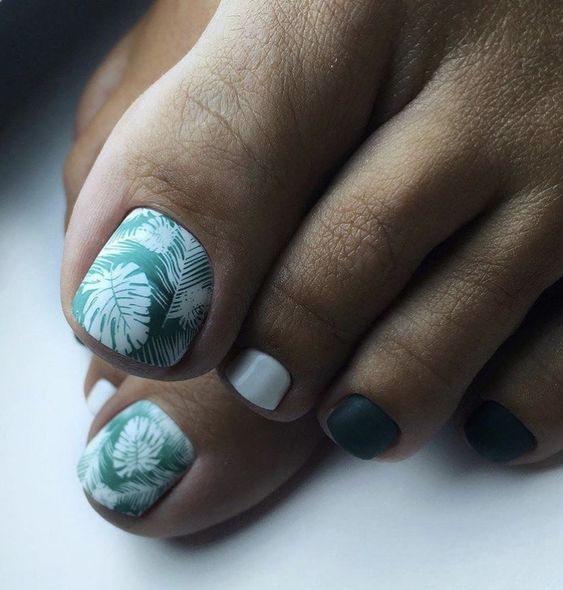
- Professional Opinion: The stark contrast between the crisp white designs against the rich teal embodies the spirit of lush rainforests and serene beaches. It’s a sophisticated take on toenails beach nails that marries the easy vibe of summer with an air of exotic sophistication.
- Materials List:
- Base polish: Ocean Teal (Gel)
- Stencil: Palm Leaf Paradise
- Accent polish: Pure White (Gel)
- Topcoat: Seashell Gloss
DIY Guide: Begin with two coats of Ocean Teal Gel for a rich base. Once dry, apply the Palm Leaf stencil firmly on the nail. Dab Pure White Gel polish onto the stencil, and carefully remove to reveal your design. Seal with Seashell Gloss topcoat for durability through summer adventures.
Teal Tranquility
As a professional manicurist, I can attest that teal is the whisper of the ocean captured on your toes. In this design, the calming shade of teal merges with the gentle embrace of the summer breeze. The balance of sophistication and playfulness makes it a perfect fit for toenails, especially when they’re peeping out of your favorite sandals.
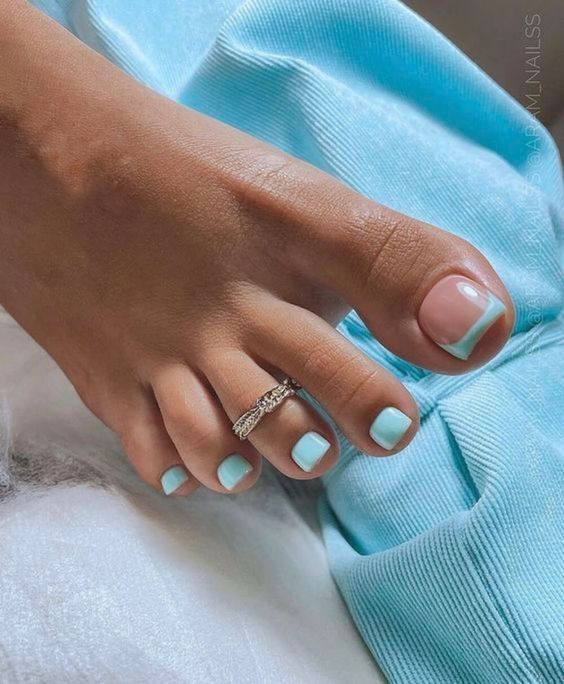
- OPI Nail Lacquer in “Teal the Cows Come Home”
- Seche Vite Dry Fast Top Coat
- Rhinestones (optional) for that extra bling
To recreate this serene oceanic effect, start with a clean, shaped toenail. Apply a base coat followed by two coats of your teal polish. For longevity, finish with a top coat. If you fancy a sparkle reminiscent of sunlight dancing on the water, add a rhinestone accent.
Geometric Glam
There’s something inherently sophisticated about geometric patterns, and this toenails art idea is no exception. Bold pink provides the canvas for a network of white lines that intrigue the eye. It’s a design that speaks of precision, control, and a zest for the avant-garde—a fabulous choice for a summer pedicure.
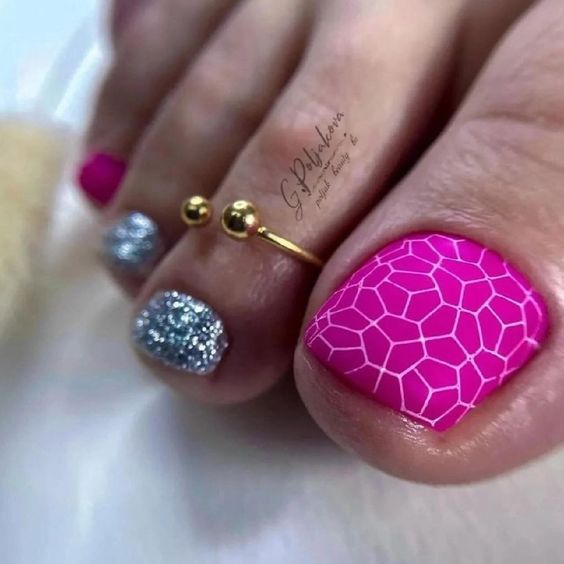
- Zoya Nail Polish in “Mae” for the base
- White nail art striping tape for precision lines
- A glossy top coat to seal the design
The pink base should be flawless; apply two coats for opacity. Next, use striping tape to map out the geometric pattern. Paint over with white and carefully remove the tape before the polish dries. Finish with a top coat for a dazzling effect.
Cow Print Whimsy
The playful cow print is unexpectedly chic, providing a contrast of black and white against the flush of pink. It’s a toenails simple design with a twist, incorporating an animal pattern that’s both cute and conversation-starting.
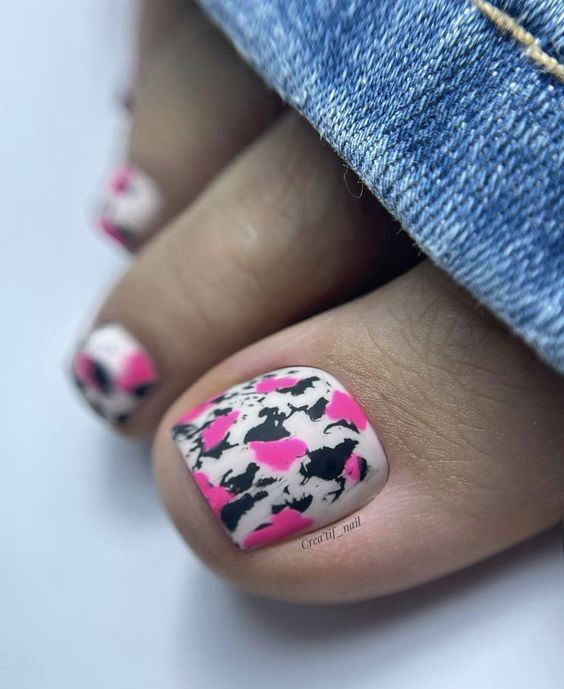
- ORLY Bonder Rubberized Basecoat
- Black and white polishes for the cow print
- A detail brush to freehand the spots
After your basecoat, apply a pink polish. Then dip your detail brush in black polish to add cow spots in various sizes. Use white to give dimension. Seal with a top coat for a design that’s as durable as it is adorable.
Verdant Verve
In this vibrant toenails beach nails design, lush green plays the protagonist, emulating the fresh foliage of summer. The pop of yellow flower on the big toe adds a flower-like burst, creating a focal point that’s fresh and full of life.
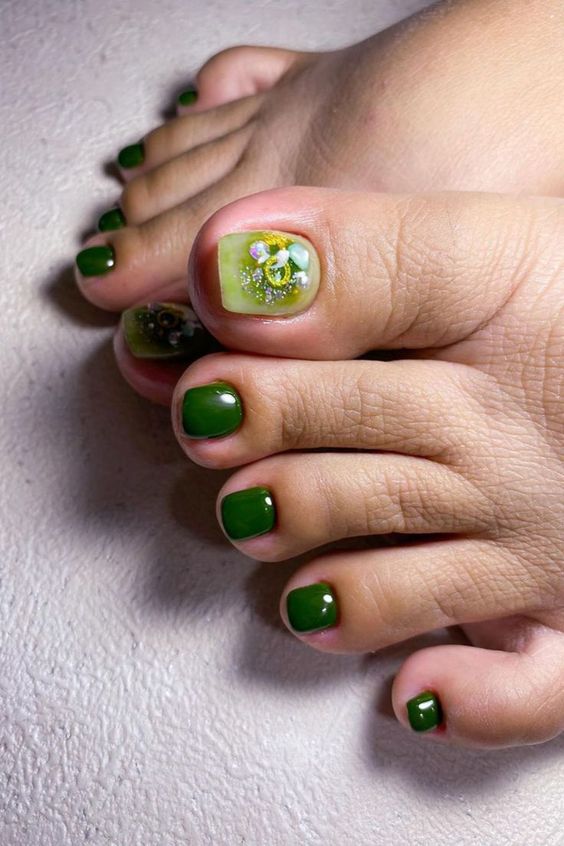
- Essie Nail Color in “Off Tropic”
- Small yellow rhinestones for the floral center
- Green and yellow polish for the petals
Paint your toenails with a deep green. For the accent nail, create a yellow bloom with nail polish and add a rhinestone in the center. A thin brush can help with petal details. Top it all off with a high-shine topcoat.
Boho Chic
Toenails white set the stage for an intricate bohemian design, exuding a simple, fancy free spirit. The pattern on the big toe draws inspiration from world styles, while the white backdrop offers a crisp contrast, perfect for toenails summer themes.
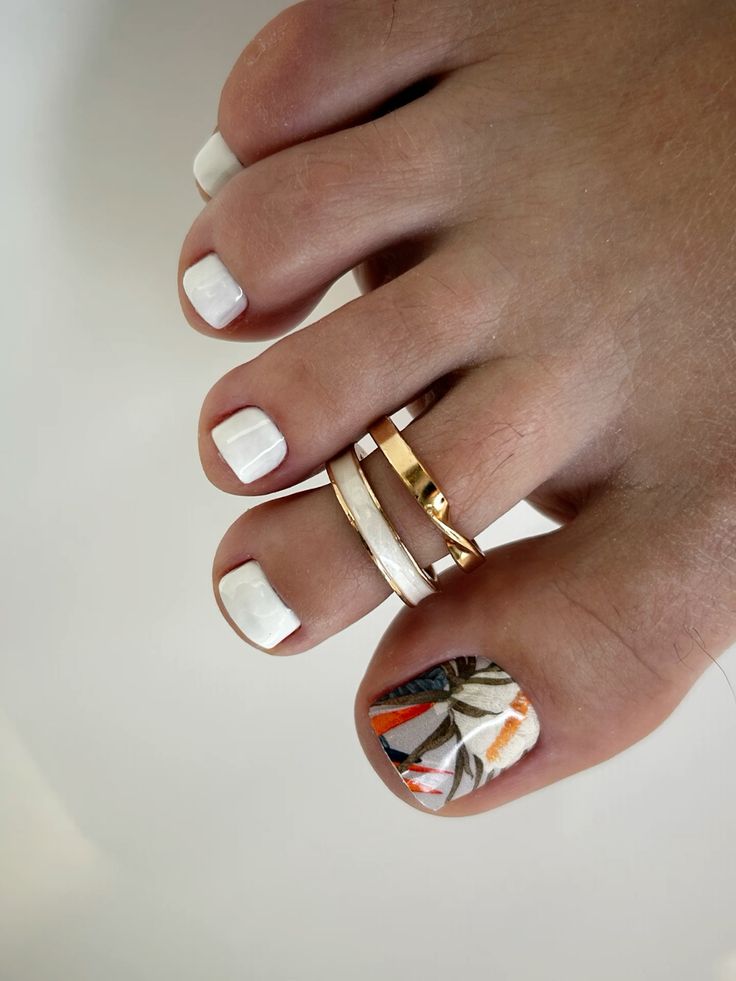
- Sally Hansen Xtreme Wear in “White On”
- Acrylic paints for the detailed design
- A fine brush to apply the intricate patterns
Start with two coats of white polish. Using acrylic paints, create the design on the big toe; thin brushes will aid in precision. You might need a steady hand, but the result is a personalized work of art.
Oceanic Waves
Dive into deep blue with this pedicure that echoes the ebb and flow of ocean waves. The wave-like pattern on the big toenail, highlighted against the white, showcases a mastery of nail art, ideal for anyone looking to bring a piece of the sea to their toenails art ideas.
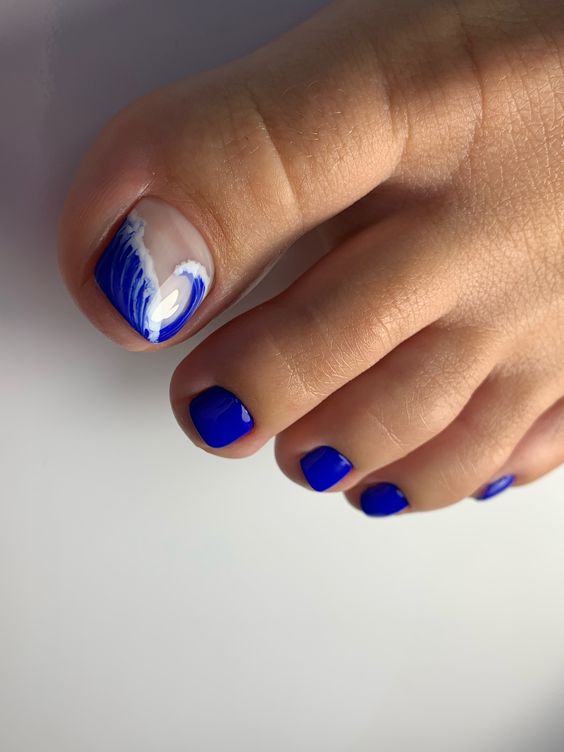
- OPI Nail Lacquer in “Tile Art to Warm Your Heart”
- White nail polish for the base of the wave design
- A detail brush to create the wave effect
Paint all but the big toenail in a striking blue. For the feature nail, apply white polish as a base, then with your detail brush, paint blue waves. A top coat adds gloss and protection to your mini marine mural.
Pristine Whites
A classic toenails white never goes out of style. This clean and crisp look brings a simple elegance to any summer outfit. The glossy finish reflects the sun’s rays, offering a cool reprieve for those hot summer days.
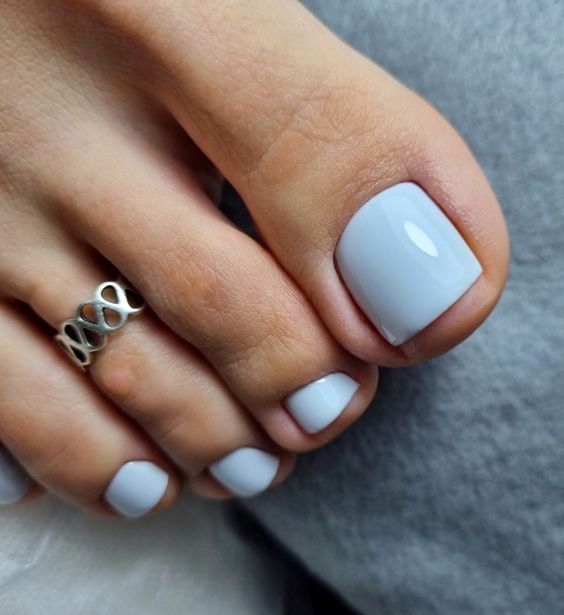
- OPI Nail Lacquer in “Alpine Snow”
- A high-quality base coat for a smooth canvas
- Glossy top coat for a protective, shiny finish
Lay down the base coat, then apply two coats of “Alpine Snow” for a rich white. A top coat gives that glassy summer shine that lasts. This look is an easy go-to for a polished finish.
Classic with a Twist
Elevating the traditional French tip with a band of blue and a sprinkle of bling, this pedicure design adds a modern twist to a timeless classic. It’s an exquisite blend of sophistication and fun, making it perfect for both a casual day out and an elegant evening affair.
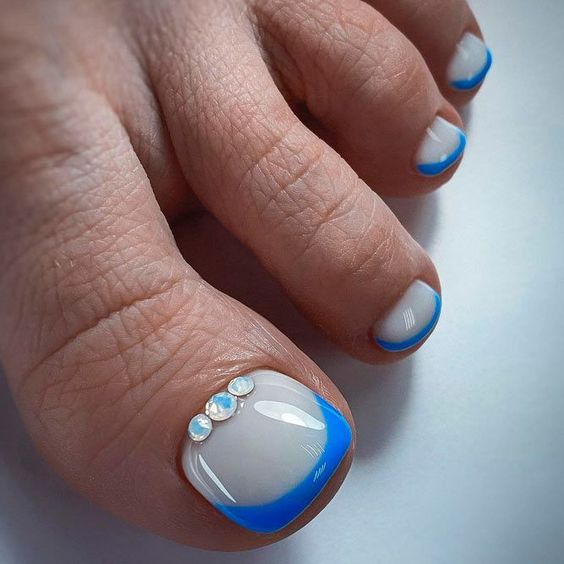
- Essie Nail Polish in “Ballet Slippers” for the base
- OPI Nail Lacquer in “Blue My Mind” for the tip
- Small rhinestones for the accent
Use “Ballet Slippers” for a subtle pink base, then carefully paint the blue tips. Add rhinestones for a touch of glamour. This design’s versatility makes it a staple for toenails trends 2024.
Geometric Sparkle
This design combines the allure of glitter with the sharpness of geometric lines, crowned with rhinestone accents. It’s a fancy yet easy pedicure that brings glitter and glam to your toes without overwhelming them.
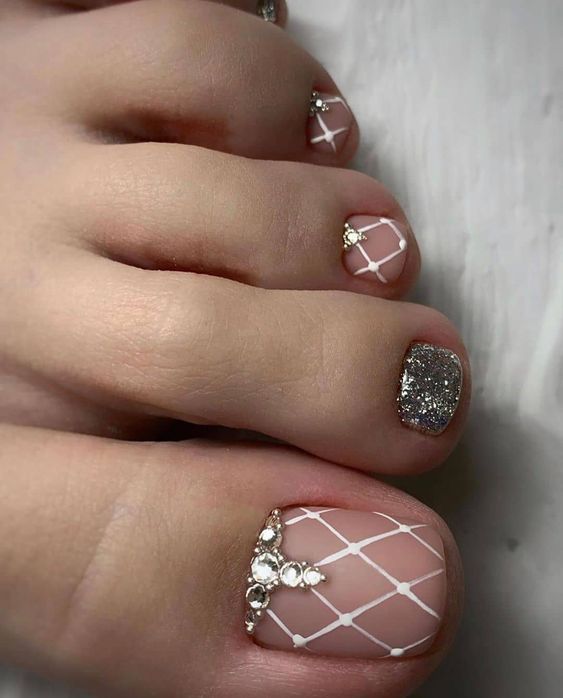
- China Glaze in “Fairy Dust” for the glitter
- Nail art tape for precise lines
- Rhinestones to elevate the look
After your base, apply “Fairy Dust” on selected nails. Use tape for geometric precision and add stones for that luxurious feel. This mix of sparkle and structure is sure to dazzle.
Sunny Delights
Bursting with energy, this sunny yellow design is accented with delicate leaf-like patterns, embodying the vibrancy of summer. It’s a cheerful, cute, and bright colors pedicure that’s bound to put a spring in your step.
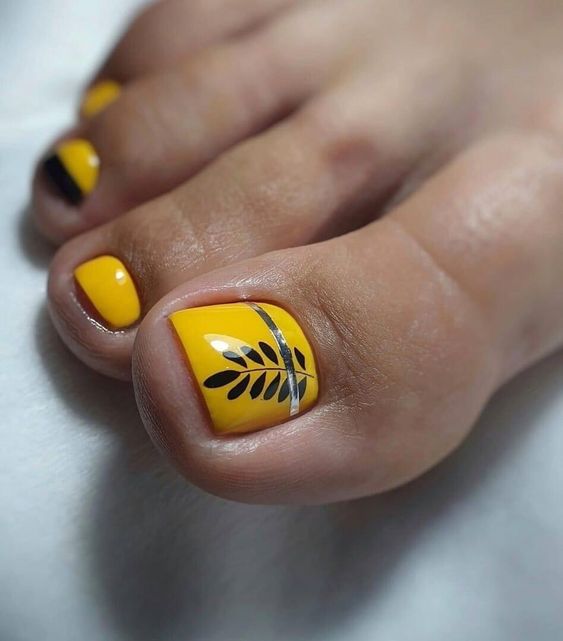
- Sally Hansen Insta-Dri in “Lightning”
- Black nail art pen for the leafy design
- A top coat to seal the art
Apply two coats of “Lightning” for a zesty yellow base. Draw the leaf pattern with a nail art pen, then add a top coat. This pedicure is like a slice of summer on your toes, ready for any toenails beach nails adventure.
Tropical Escapade
This bold and bright colors design marries vivid yellow with deep jungle greens, transporting you straight to a tropical paradise. It’s the ultimate toenails beach nails look that’s both fancy and easy to pull off, with a hint of mystery in the dark palm frond accents.
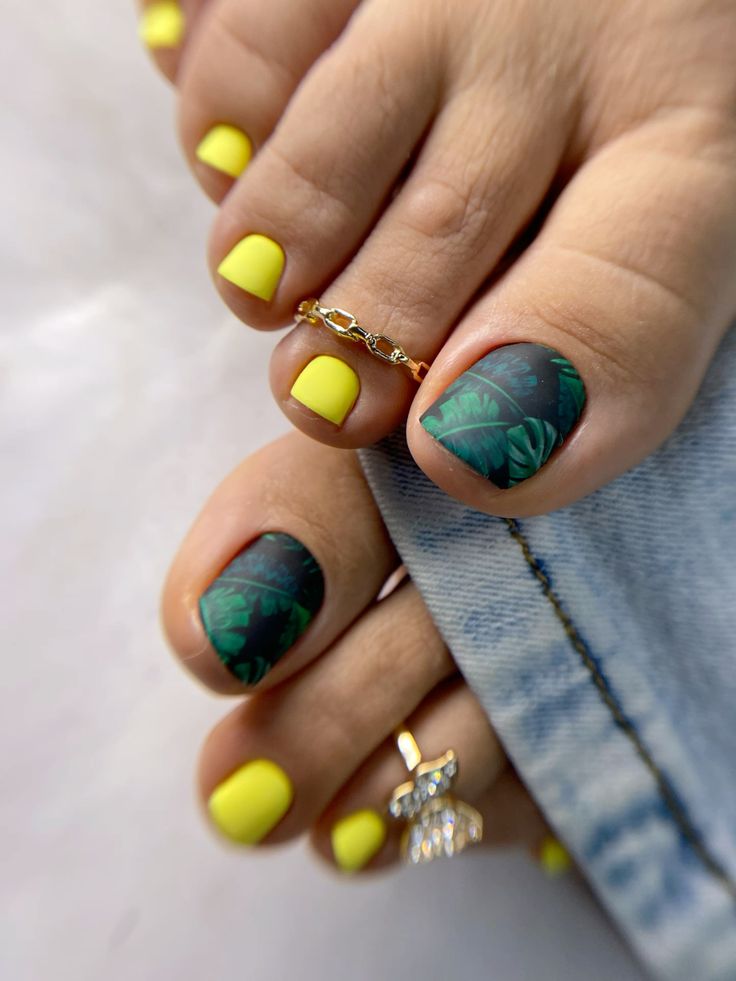
- Sinful Colors in “Let’s Meet”
- Dark green and black polish for the leaves
- A thin brush or nail art pen for detail work
Coat your toenails with “Let’s Meet” to achieve that radiant yellow. Use the thin brush to paint palm fronds on the accent nails, mixing in some black for depth. Seal with a top coat to ensure your tropical toes stay pristine.
Neo-French Flair
Revitalizing the French tip with neon pink, this design is a fresh twist on the classic, ideal for toenails summer vibes. It’s a simple but striking look that’s playful yet polished, suitable for any summer adventure, whether it’s urban exploration or seaside lounging.
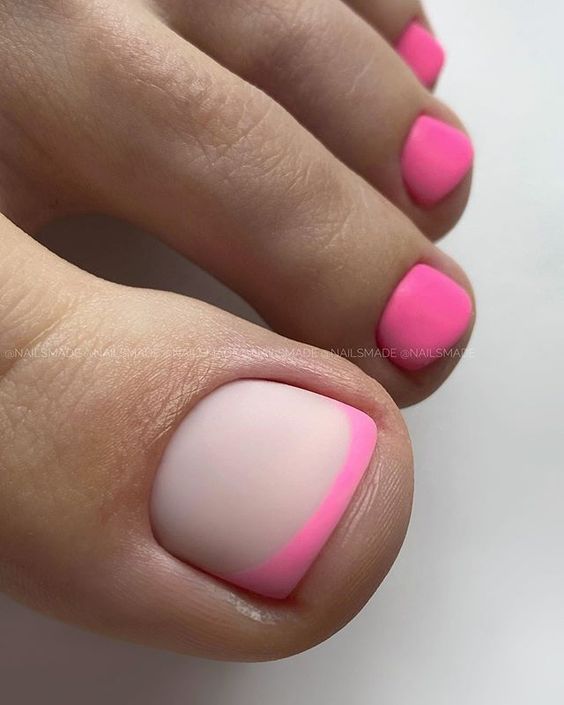
- Essie Nail Polish in “Blanc” for the base
- China Glaze in “Pool Party” for the neon pink tips
- A protective top coat for lasting wear
Begin with “Blanc” as your base for a clean look. Carefully apply “Pool Party” to the tips, then finish with a top coat for a vibrant and durable toenails art idea.
Sparkling Seascape
Dive into the depth of the ocean with this blue pedicure design that sparkles like sunlight hitting the waves. It’s a glitter-heavy look that captures the essence of summer by the sea, perfect for anyone looking to add some sparkle to their step.
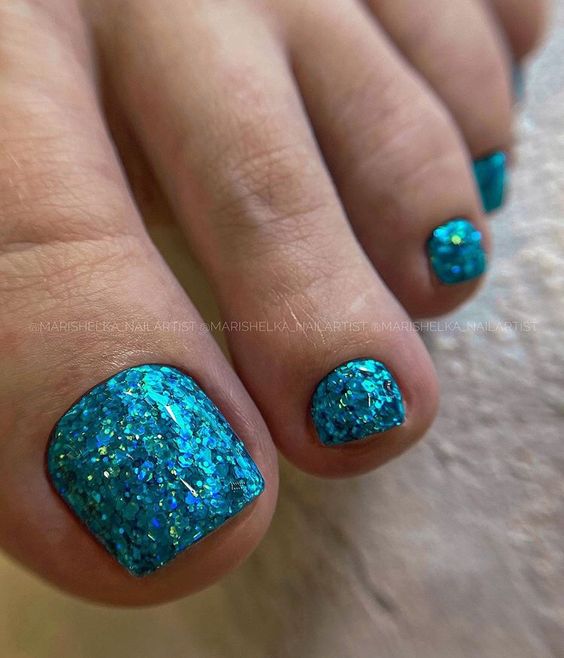
- Base coat for nail protection
- Blue glitter polish, preferably with different sizes of glitter for depth
- A sealing top coat to lock in the sparkle
To achieve this mesmerizing look, begin with a protective base coat. Then, layer on the blue glitter polish until you reach your desired level of shimmer. Finish with a top coat to ensure your glittering oceanic nails last as long as your summer adventures.
Wild for Fuchsia
Embrace the wild side with this electric fuchsia pedicure, adorned with a zebra pattern that shouts fun and flirty. This summer pedicure design isn’t just a pop of color, it’s a roar of style.
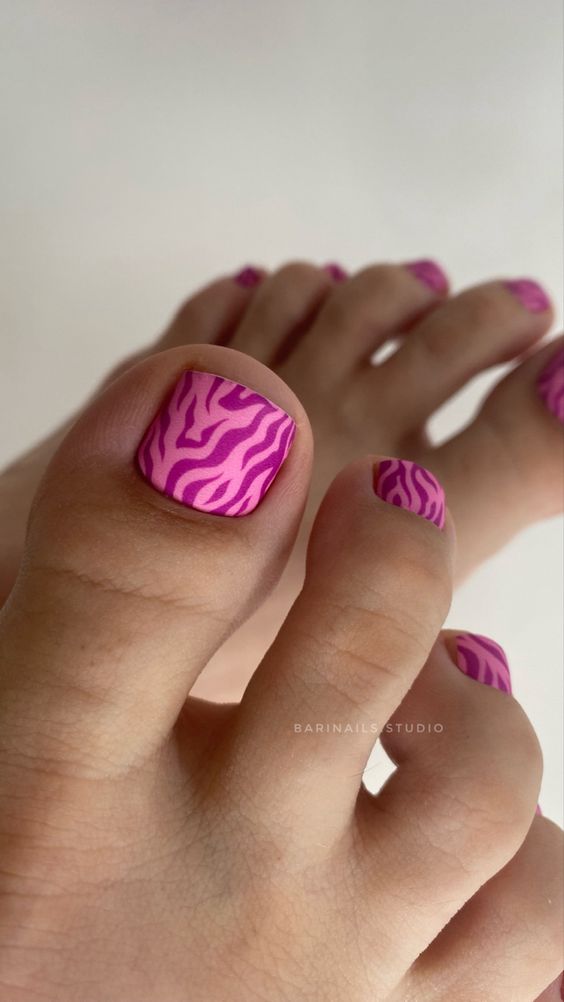
- Bright fuchsia polish for the base
- White polish for the zebra pattern
- A fine detail brush or nail art pen
Paint your nails with the fuchsia base. Once dry, use a fine brush to draw on the white zebra stripes. Each nail becomes a mini canvas for your wild artistry, and a top coat seals your safari adventure.
Pastel Party
This sweet, simple design features a pastel pink base with a glitter party on the big toe. It’s a perfect match for those looking to add a touch of sparkle to a toenails simple look, encapsulating both innocence and playfulness.
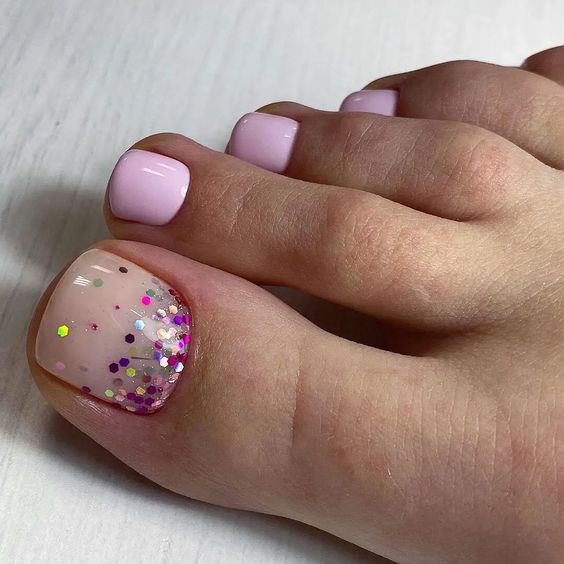
- Pastel pink polish for the base
- Multi-colored glitter polish for the accent
- A glossy top coat to encapsulate the sparkles
Start with a pastel pink polish as your base. Add a burst of multi-colored glitter polish to the big toe for a festive touch. A top coat gives a smooth finish, making your toes a celebration in themselves.
Save Pin
