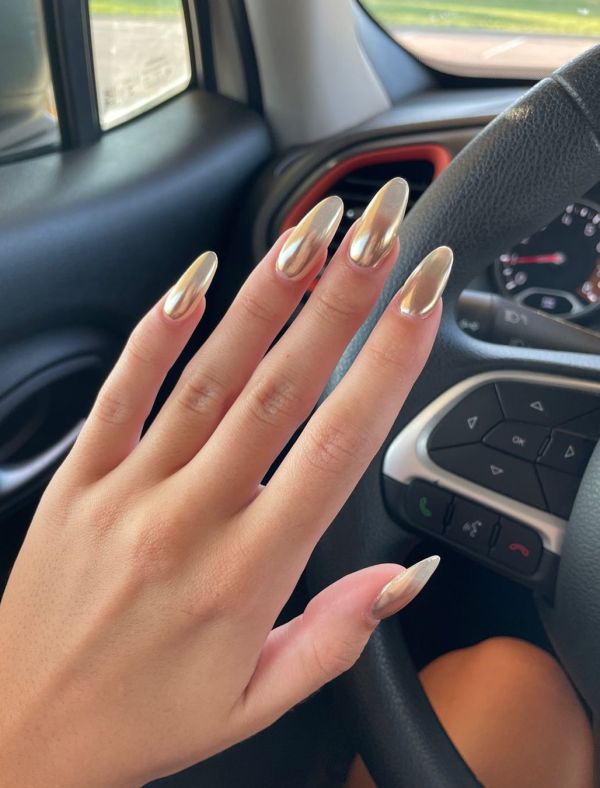
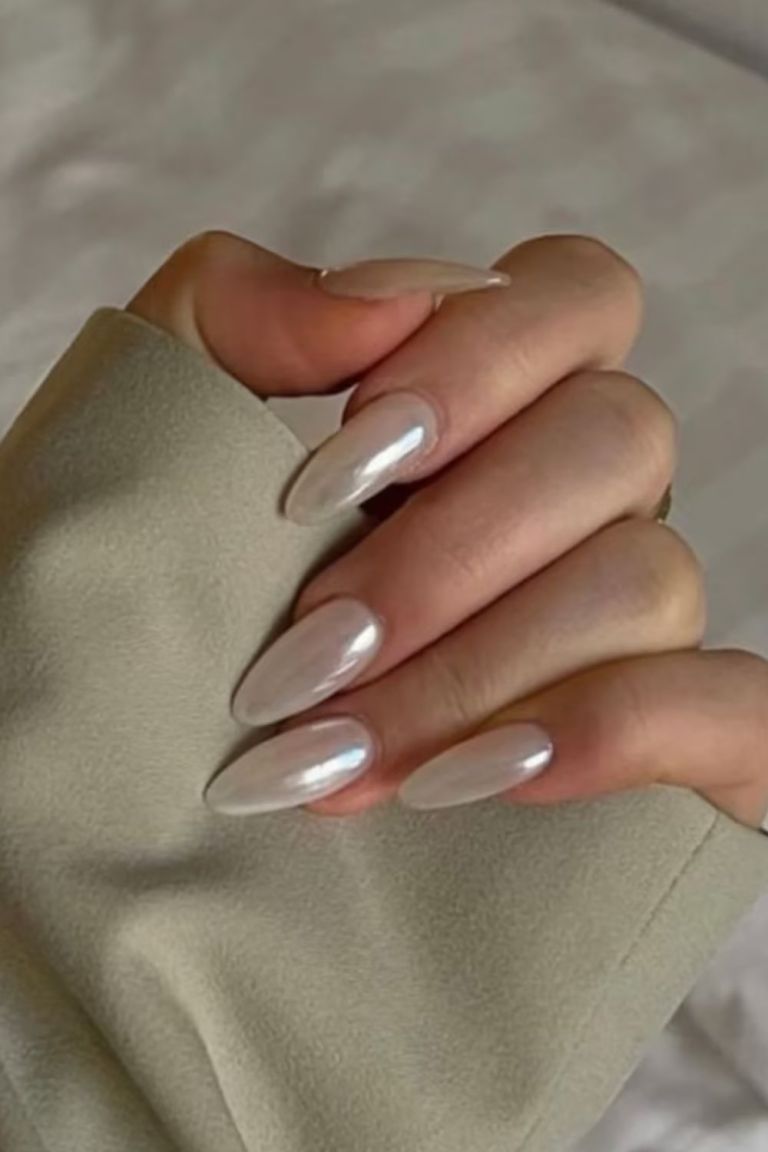
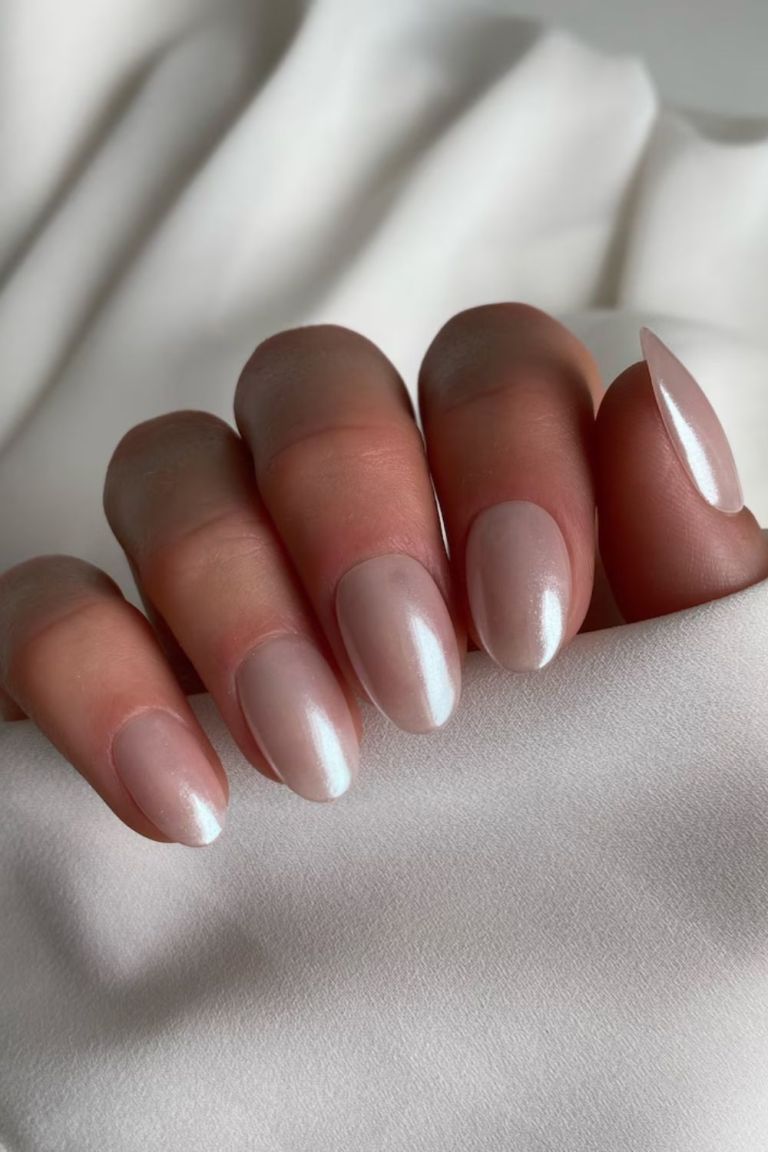
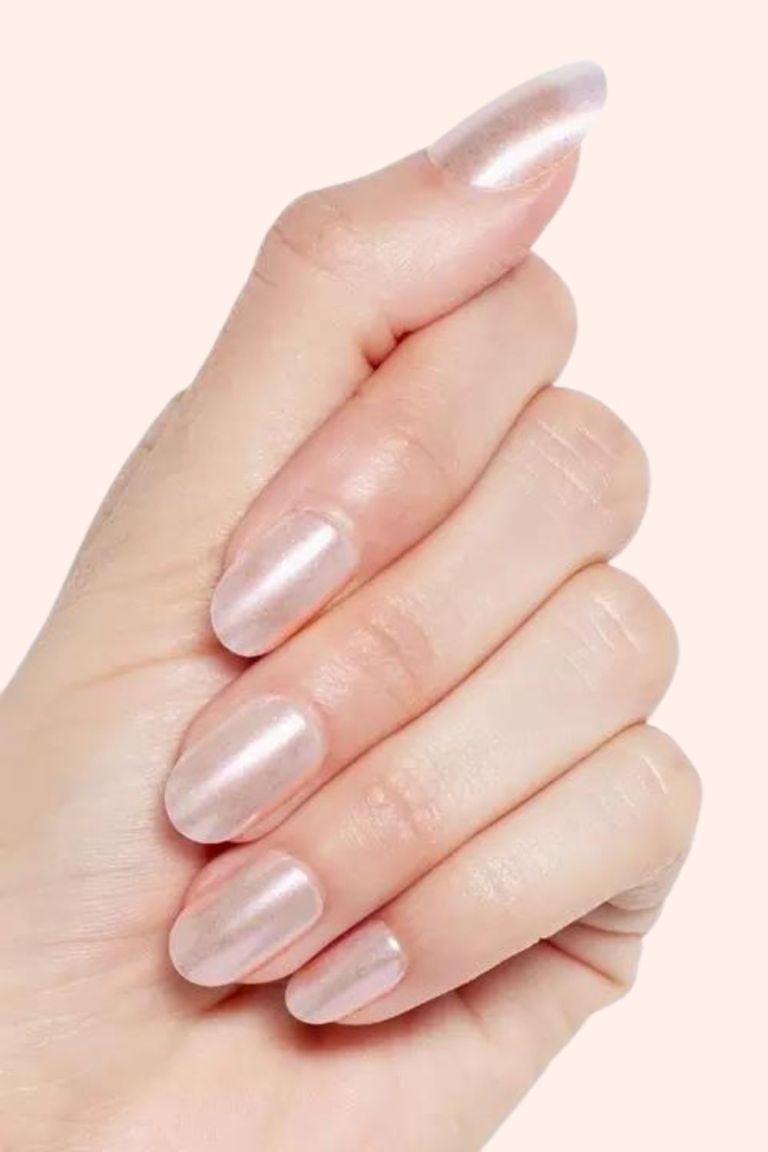
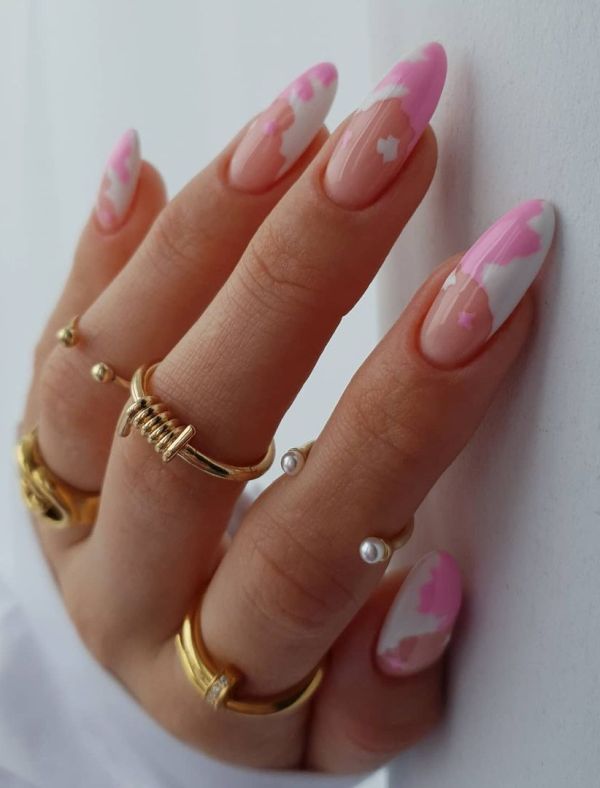
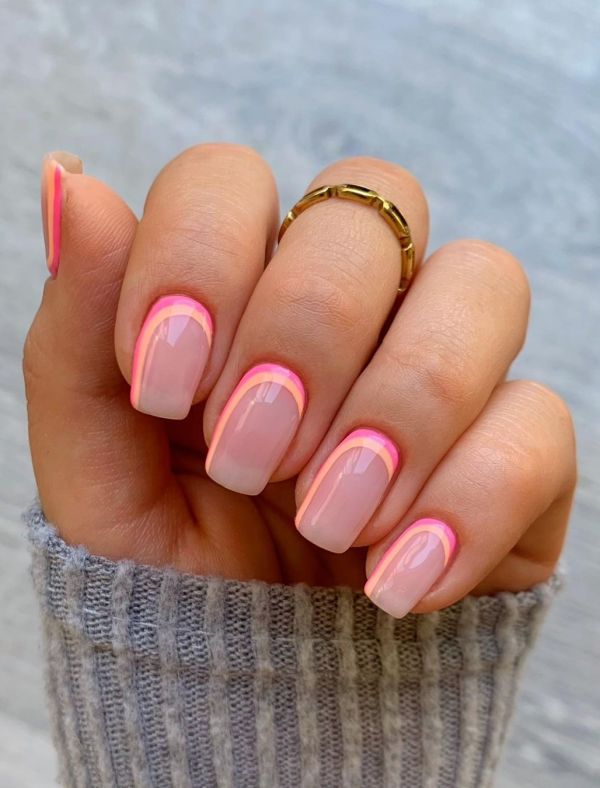
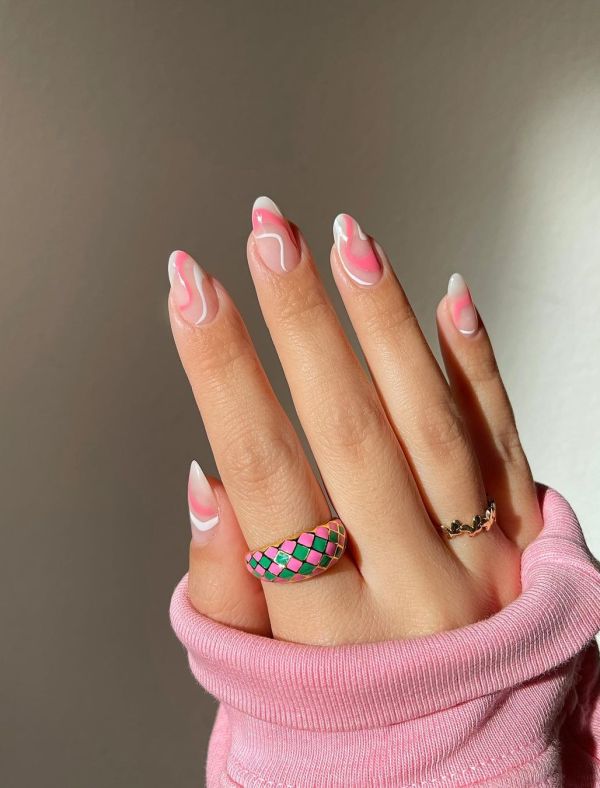
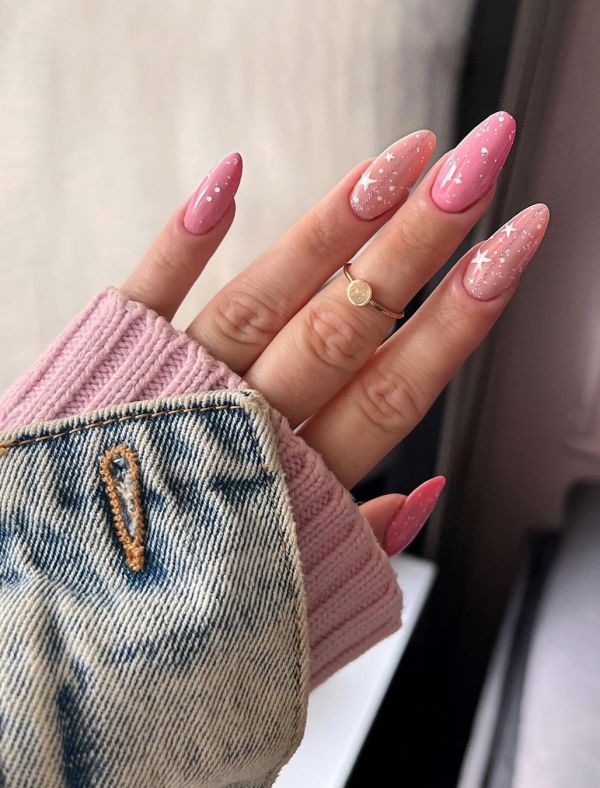
Let’s get started!
*This post contains affiliate links*
List of materials required for the DIY white chrome nails
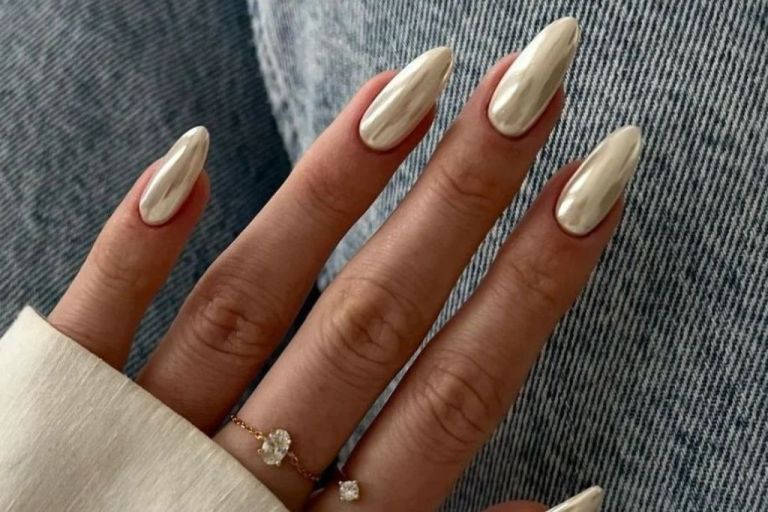
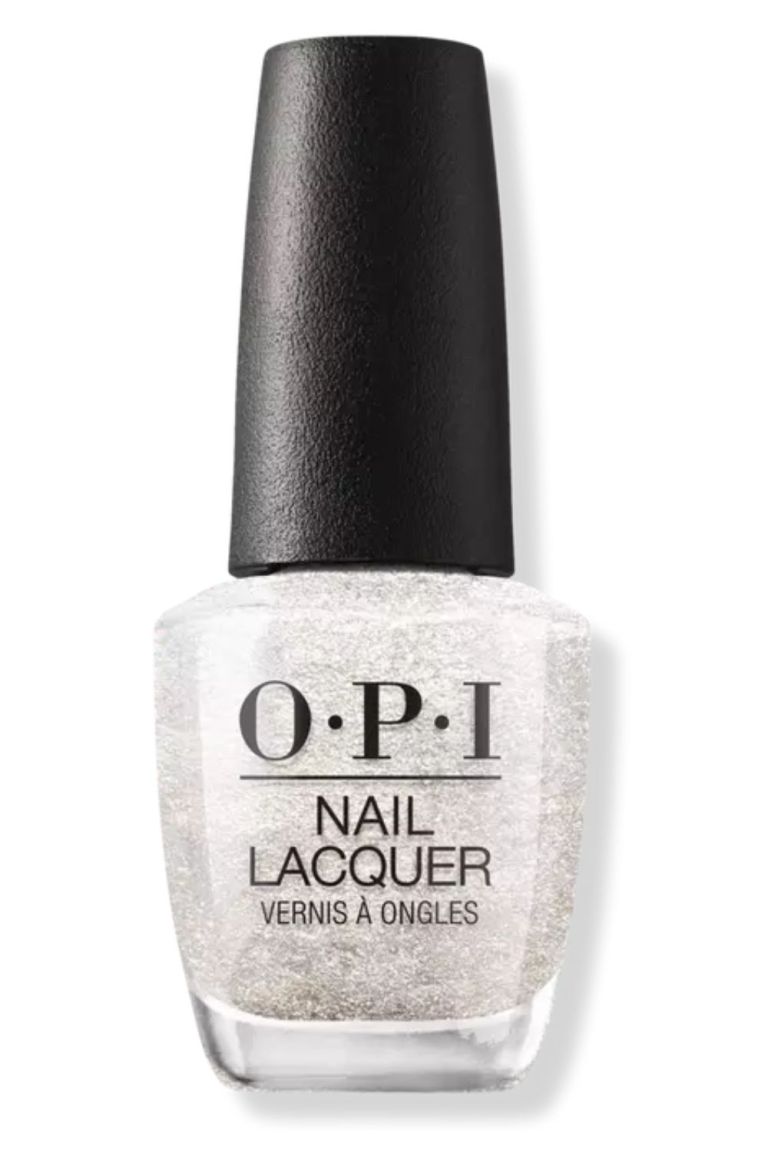
- White nail polish: Provides the base color for the chrome effect.
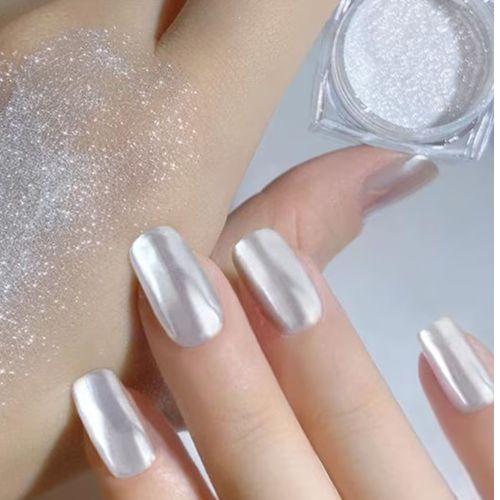
- Chrome powder: Creates a metallic, mirror-like finish on the nails.
- Applicator or sponge: Helps in applying and buffing the chrome powder onto the nails.
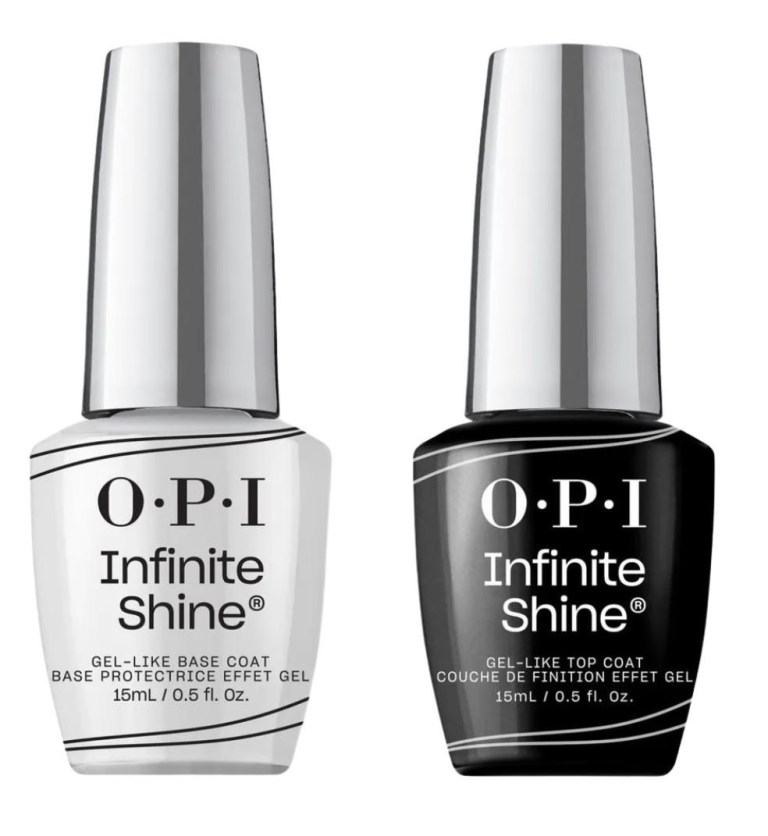
- Clear top coat: Seals and protects the chrome effect, providing a glossy finish.
- Nail polish remover: Used to clean the nails before the application.
- Nail file: Helps in shaping and filing the nails.
- Cotton pads or swabs: Used for cleaning and removing excess product.
- UV or LED nail lamp (optional): Helps to cure and dry the gel-based products.
Step-by-Step Tutorial
Here is a tutorial on how to achieve white chrome nails:
Step 1: Preparing the Nails
- Ensure nails are clean and free of any existing polish by using nail polish remover.
- Shape and file the nails to your desired length and shape.
Step 2: Applying the white base coat
- Select a high-quality white nail polish that is opaque and specifically made for a smooth base.
- Apply the white base coat evenly across each nail, ensuring full coverage.
- You may need to apply two coats to get a solid white color. Cure the polish under a UV or LED lamp according to the manufacturer’s instructions.
Step 3: Using the chrome powder
- Take a small amount of chrome powder and apply it to the cured white base.
- Gently rub the powder onto the nail using a sponge or an applicator until the chrome effect appears. Make sure to apply the powder evenly and cover all areas of your nails.
- Continue rubbing until the entire surface is shiny and reflective. The nail is considered finished when it can reflect light and has a mirror-like appearance.
- Remove any excess powder and lightly brush off the nail to achieve a smooth and shiny finish.
Step 4: Finishing touches
- Seal and protect the chrome powder by applying a clear top coat.
- Ensure the top coat is completely dry before touching or applying any pressure to avoid smudging or ruining the chrome effect.
Common problems and how to troubleshoot them
Streaky chrome effect:
Possible causes: Uneven application or insufficient buffing of the chrome powder.
Solution:
- Make sure to apply the white base coat smoothly and evenly to establish a solid foundation.
- Rub the chrome powder onto the nail using a sponge or applicator, ensuring to do so in a consistent, circular motion.
- Apply gentle pressure and ensure that the entire nail surface is covered with the powder for a uniform chrome effect.
The chrome powder is not adhering well:
Possible causes: The top coat is over-cured, which can hinder the adhesion of the chrome powder.
Solution:
To ensure proper adhesion of chrome to the top coat, be mindful not to over-cure the top coat. If it is overcured, the chrome may easily rub off and not stick effectively.
For better adherence of the chrome powder, cure your top coat for slightly less than the recommended time. This surface will enable the chrome powder to adhere better.
Remember to follow the instructions provided with the specific brands or products you are using, as they may have additional recommendations or troubleshooting tips for achieving the best results.
Press On Nails
If painting your own nails feels like a chore, don’t worry! For convenience and a flawless finish, consider using press-on nails. They save time and offer a wide range of styles, including white chrome.
I’ve provided some links below to my personal favorites for achieving flawless white chrome nails at home.
To ensure proper adhesion of chrome to the top coat, be mindful not to over-cure the top coat. If it is overcured, the chrome may easily rub off and not stick effectively.
Check Out These Stunning White Chrome Nail Designs For Inspiration
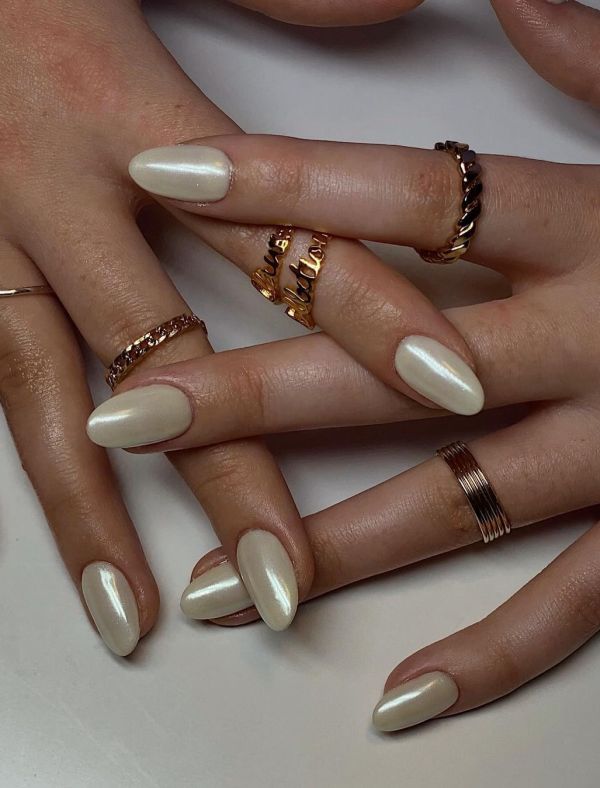
1. The White Chrome Classic Design
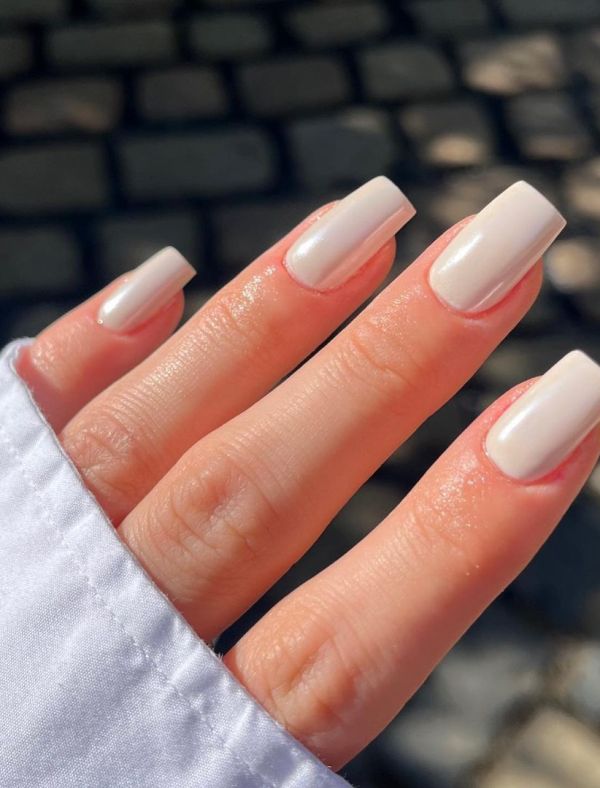
2. Square White Chrome Mani
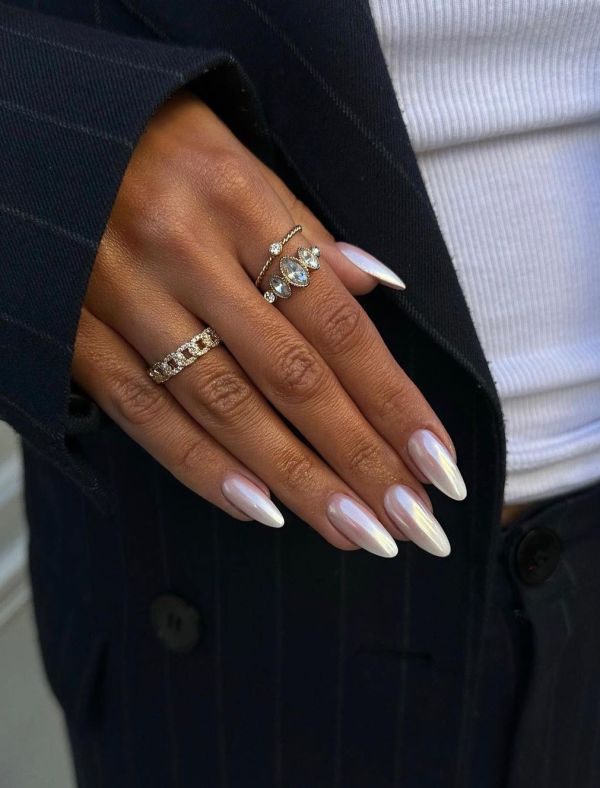
3. Baby Boomer Chrome Nails
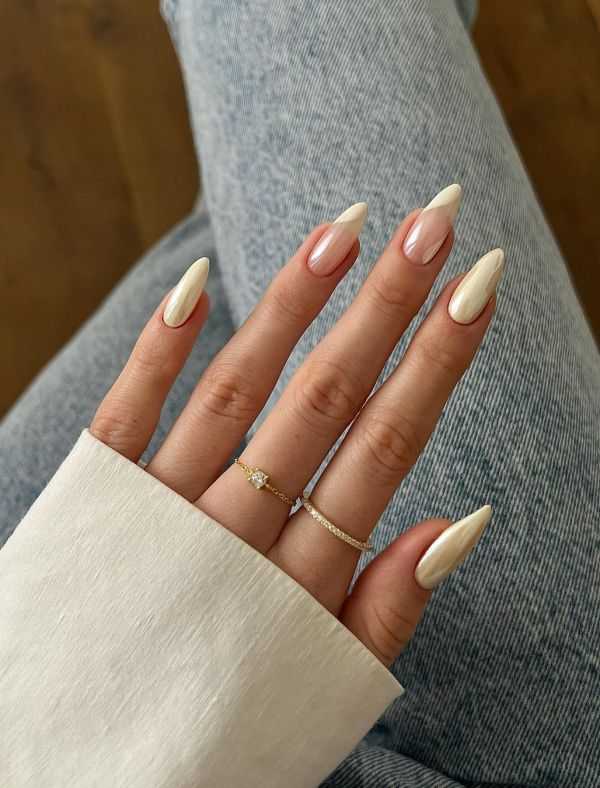
4. Negative Space Chrome Mani
5. Glazed Donut Mani
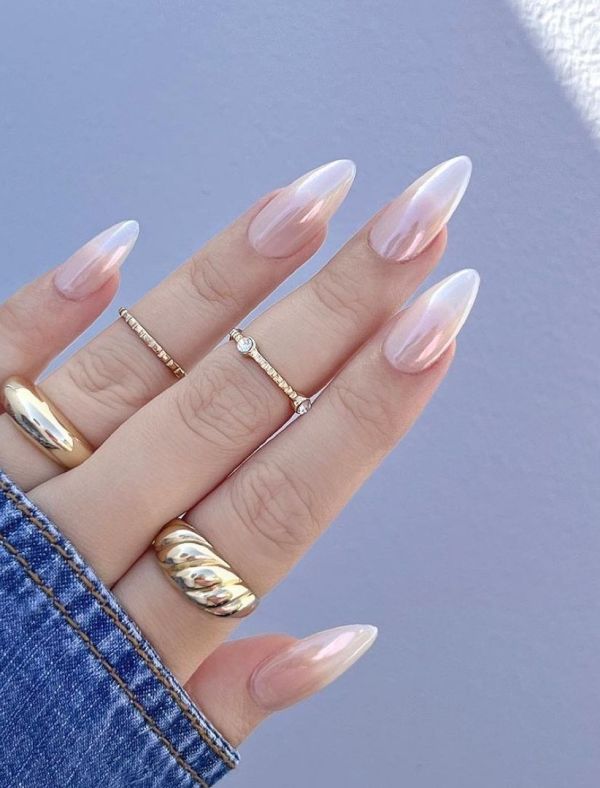
6. Chrome French Tip Design
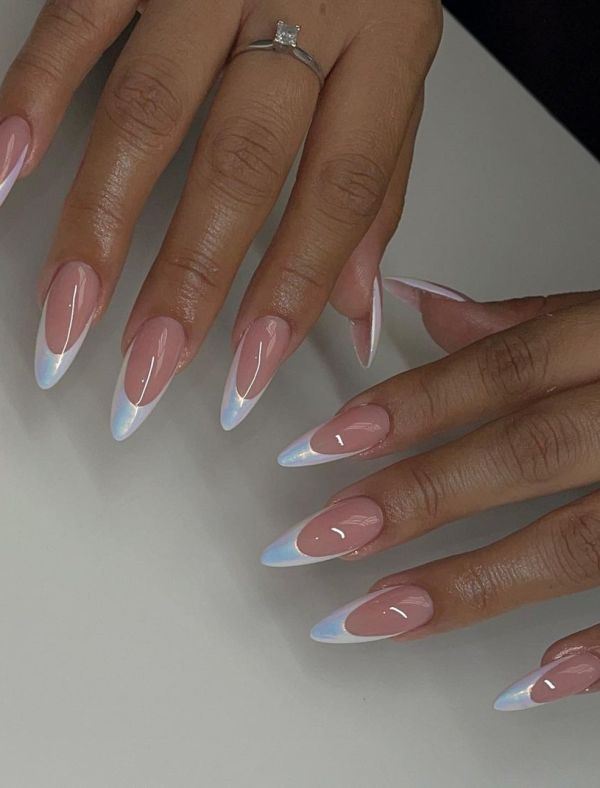
7. Gold Undertones
